

Cart
0
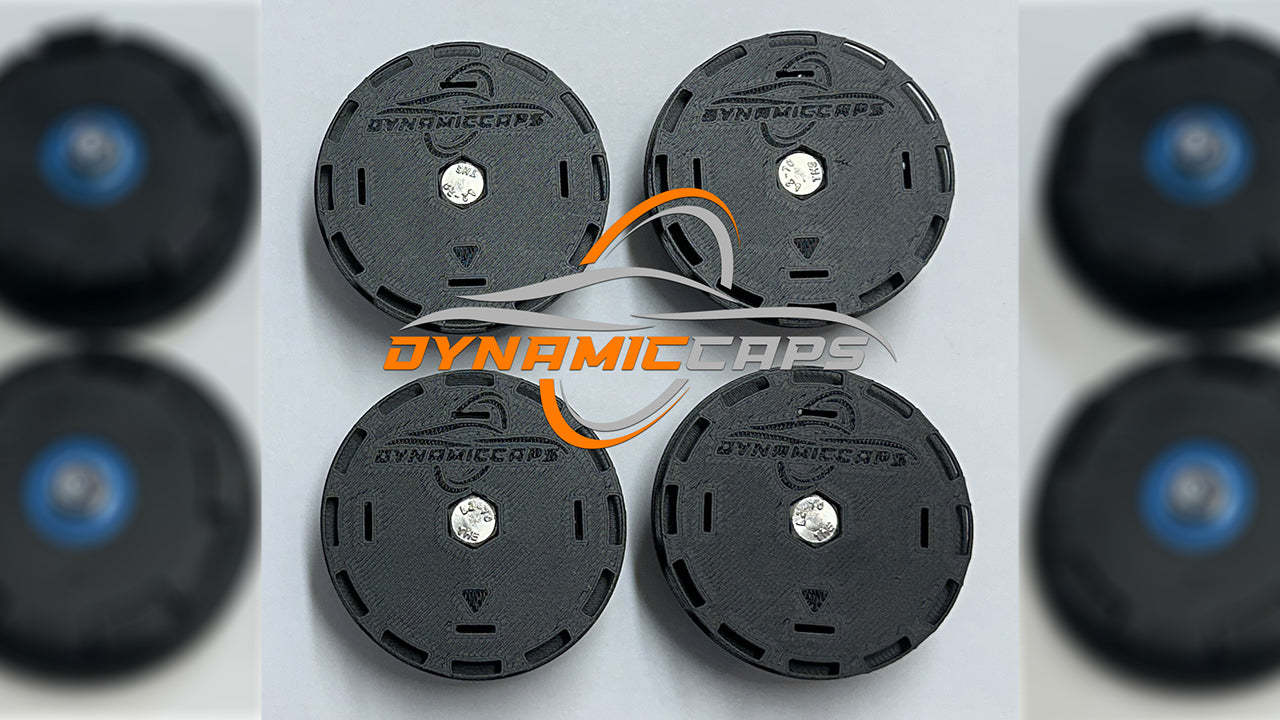
DynamicCaps™ C6/C7/C8 Quick Guide
Watch as we swiftly walk you through the quick and simple process of removing your centercaps and replacing them with your new DynamicCaps™,

DynamicCaps™ C6/C7/C8 Detailed Installation Video
See how easy the installation is!
Watch as we walk you through the quick and simple process of removing your centercaps, installing your OEM caps onto your new DynamicCaps™, and reattaching them to your vehicle.
A sleek upgrade in just minutes!
David
OwnerHow to Install Your DynamicCaps™
Follow these easy steps to install your new DynamicCaps.
Recommendation: We recommend test fitting a DynamicCap on both a front and rear wheel, prior to doing the full centercap removal/installation.
Step 1: Prepare Your Wheels
Ensure your vehicle is parked on a flat surface and the parking brake is engaged. If your wheels have existing OEM center cap assemblies, remove them from the vehicle as described in the video above. While we do recommend taking the wheels off your car ideally, here also is a link that shows how you can remove them with the wheels on the car. Now that you have removed the center cap assemblies, take this opportunity to clean the wheel hub area thoroughly to remove dirt, grease, and debris prior to installing your new DynamicCaps™ to ensure perfect fitment.
Step 2: Remove OEM caps from factory assemblies
As described in detail, in the video above, remove your Corvette center caps from the OEM assemblies. You can then simply re-install them on your new DynamicCaps™.
Step 3: Align the DynamicCap™
Hold the DynamicCap™ over the wheel’s center hub, ensuring the logo is properly aligned with the wheel’s orientation (But Wait, it will self align now !!!). The cap should sit evenly in the hub before pressing it in.
Step 4: Secure the DynamicCaps™ to the wheels
Using both hands, gently but firmly press the Dynamic Cap into place. If necessary, use a rubber mallet to lightly tap the cap, ensuring it is seated correctly. Be cautious not to use excessive force.
Step 5: Check Rotation and Fitment
Once installed, manually spin each DynamicCap™ to verify that it rotates freely and is securely in place. Take a short drive and recheck the fitment to ensure stability.
Step 6: Maintenance & Cleaning Tips
Periodically check your DynamicCaps™ to ensure they remain secure and are functioning optimally. All parts have been carefully engineered so that if anything needs to be serviced, you can easily handle that. Clean them regularly by washing the car, or with a soft cloth to maintain their appearance and functionality.
NOTE 1: We recommend starting with test fitting one DynamicCap™ on the front, and then 1 on the back. There have been instances where powder coating has changed tolerances slightly and in one rare case an offset was not normal. While these situations are VERY rare, we do suggest following this process. DynamicCaps™ are intended to be a one size fits all application (measured to 1/100th of a mm), so if anything is out of the ordinary we want to ensure we can swiftly address any issues you have. If a case like this occurs, we will immediately engineer your tolerances into the model, and ship (at our cost) any elements that require change. We have made the assemblies highly serviceable by end users if required.
If you are unsure about anything at all, or just have a question, please reach out to us via email or via our Contact Us page. We will respond promptly and answer all your questions.
NOTE 2: DynamicCaps™ have been engineered to provide you with a long lasting and high performance accessory. The bearings are rated at 34,000 RPM (~70mph = 1000 RPM), All internal parts are Stainless Steel and the assemblies themselves are made from PETG which can handle any environment/weather/temperature or speed.
DynamicCaps™ "Show Edition"
C6/C7/C8 Rim Fitment
DynamicCaps "Show Edition" are precision engineered to be incredibly shallow at the center, which allows for fitment in all compatible C6, C7 & C8 GM OEM wheels.
In most cases, Aftermarket rims are also fine, so long as you have 66.9mm bores (center holes) and 10.3mm in depth at the rear.
The depth of a DynamicCap is 10.2mm (0.402"), so as long as you have 10.3mm (0.405") or better in the Rear of your aftermarket wheels, you are good to go all around. The fronts are never problematic, as there is lots of depth on all C6/C7/C8's (no spindles in front).

DynamicCaps™ "Performance Edition"
C7/C8 Rim Fitment
DynamicCaps Performance Edition are precision engineered as well to be shallow at the center given the additional weighting. This allows for fitment in many C7/C8 OEM (and aftermarket) rims. Front rims allow for center caps with a significant depth, but some rear rims have a shallow cavity between the backside of the centercap and the axle spindle.
See the following image of a rear rim, and how to measure your rear centercap spacing allowance for 100% guaranteed DynamicCap Performance Edition fitment.
The measurement that matters most, for DynamicCaps to fit C7/C8 is the distance from the spindle (#1) to the backside lip of the centercap (#2)
The depth of a DynamicCap Performance Edition is 19.75mm (0.778"), so as long as you have 19.8mm (0.779") or better in the Rear, you are good to go all around. The front is never problematic, as there is lots of space on all C7's & C8's.